Getting Started
This section will cover some resources and basic setup for self-hosting.
Table of Contents
- Introduction
- The Cloud
- Creating a VM on GCP
- Running with Your Own Hardware
- Creating a VM on Proxmox
- Containerisation
- Section Summary
Introduction
This section will cover the basics of self-hosting both in the cloud and on-premises with your own hardware.
The examples provided here are made where a reader will be able to follow along.
The Cloud
If you do not have any hardware that can be used, you can start in the cloud.
Some disadvantages is that there will be cost associated with it such as 5 USD per month running a VM on Digital Ocean. Another disadvantage will be the hardware as we do not have control over it.
Some advantages will be cost where it is cheaper in the short term over buying dedicated hardware to run virtual machines or containers. Another advantage will be "easier" networking and direct access to the machine as it is attached to a public IP address.
Many platforms such as Digital Ocean, Google Cloud Platform (GCP), Amazon Web Services (AWS), Oracle Cloud, and more offer free trials with credits or "always free" option. The below table will list some of it.
| Cloud | Options |
|---|---|
| Digital Ocean | Free $200 credits for 60 days for new accounts. |
| Google Cloud Platform (GCP) | Free $300 USD credits for 90 days for new accounts. 730 Hours of "Always free" e2-micro VM in US central1, west1, or east1 with 30GB storage and 1GB network. |
| Amazon Web Services (AWS) | Free 750 hours per month for 12 months with AWS free tier. |
| Oracle Cloud | Free $300 USD credit for 30 days. VM.Standard.E2.1.Micro (AMD) or 4 OCPUs and 24 GB memory for ARM. |
All options listed above requires payment information before you can get started.
Links:
- Digital Ocean - https://www.digitalocean.com/
- GCP - https://cloud.google.com/
- AWS - https://aws.amazon.com/free/
- Oracle Cloud - https://www.oracle.com/cloud/free/
Once a platform has been selected, we can start creating virtual machines. As we are using the cloud, the platform acts as a "hypervisor" and we do not need to create and manage one. Only the virtual machines, networking, and security have to be managed by us.
This section will use GCP as an example. Creating VMs on different providers may differ as well as pricing.
Creating a VM on GCP
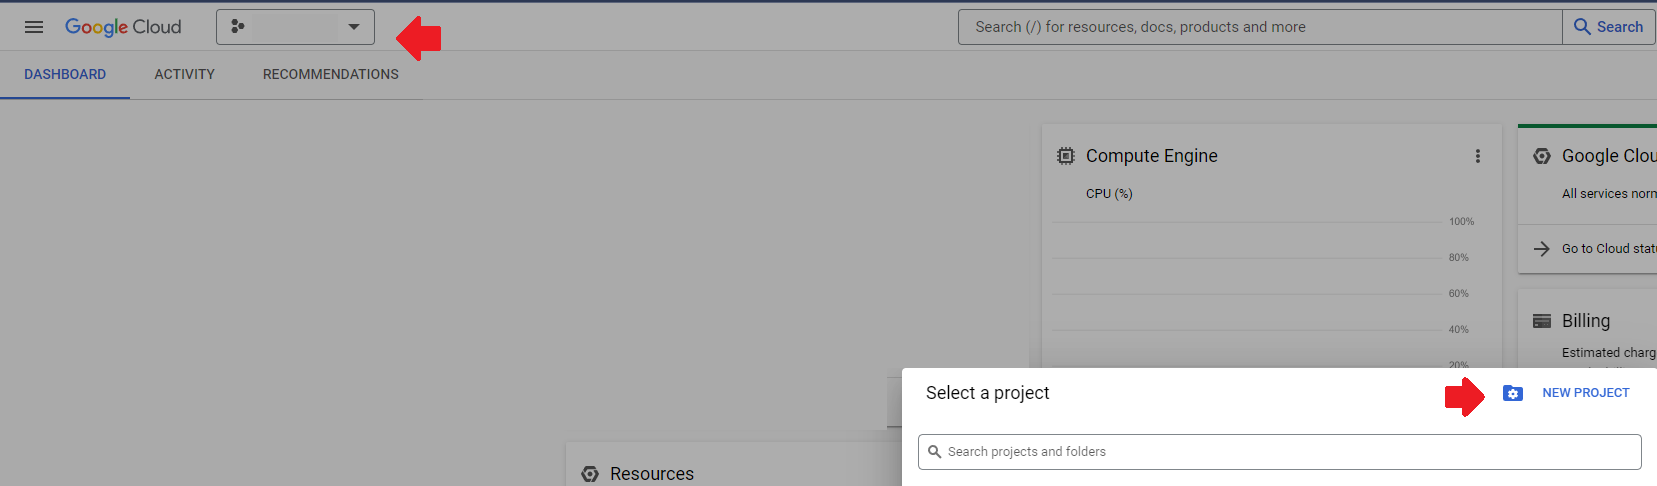
To start, sign in with Google Cloud and sign up. After signing up, we can create a VM by first creating a project by clicking the top left and selecting "NEW PROJECT".
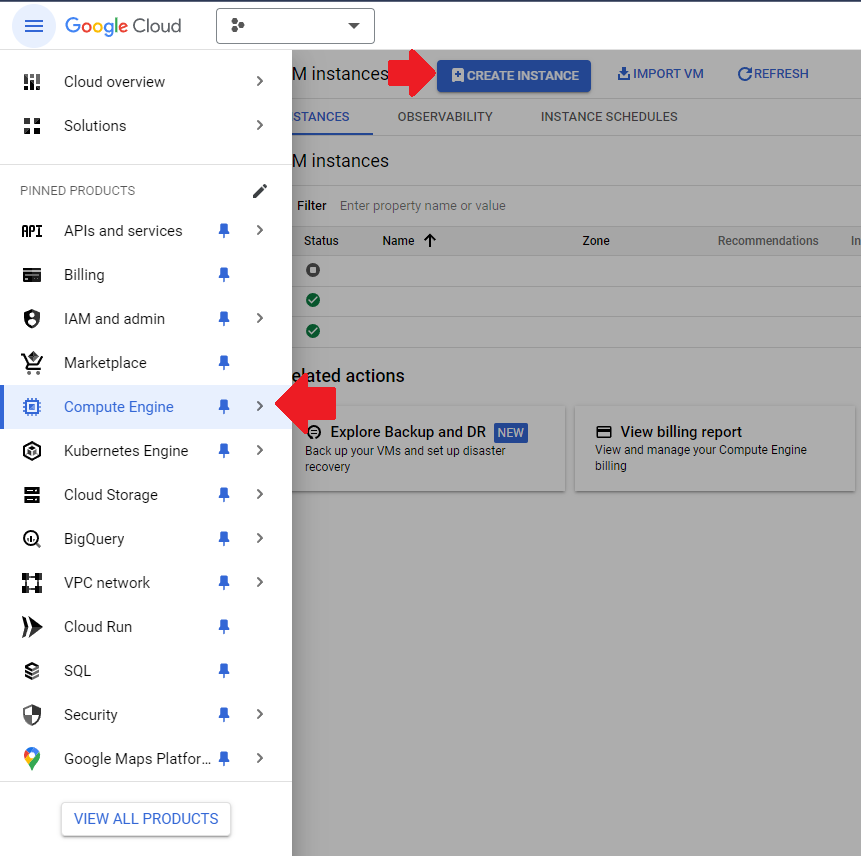
Once created with the relevant information provided, we can click on "Create a VM" or navigate to the menu on the top left and click Compute Engine and the "CREATE INSTANCE" button.
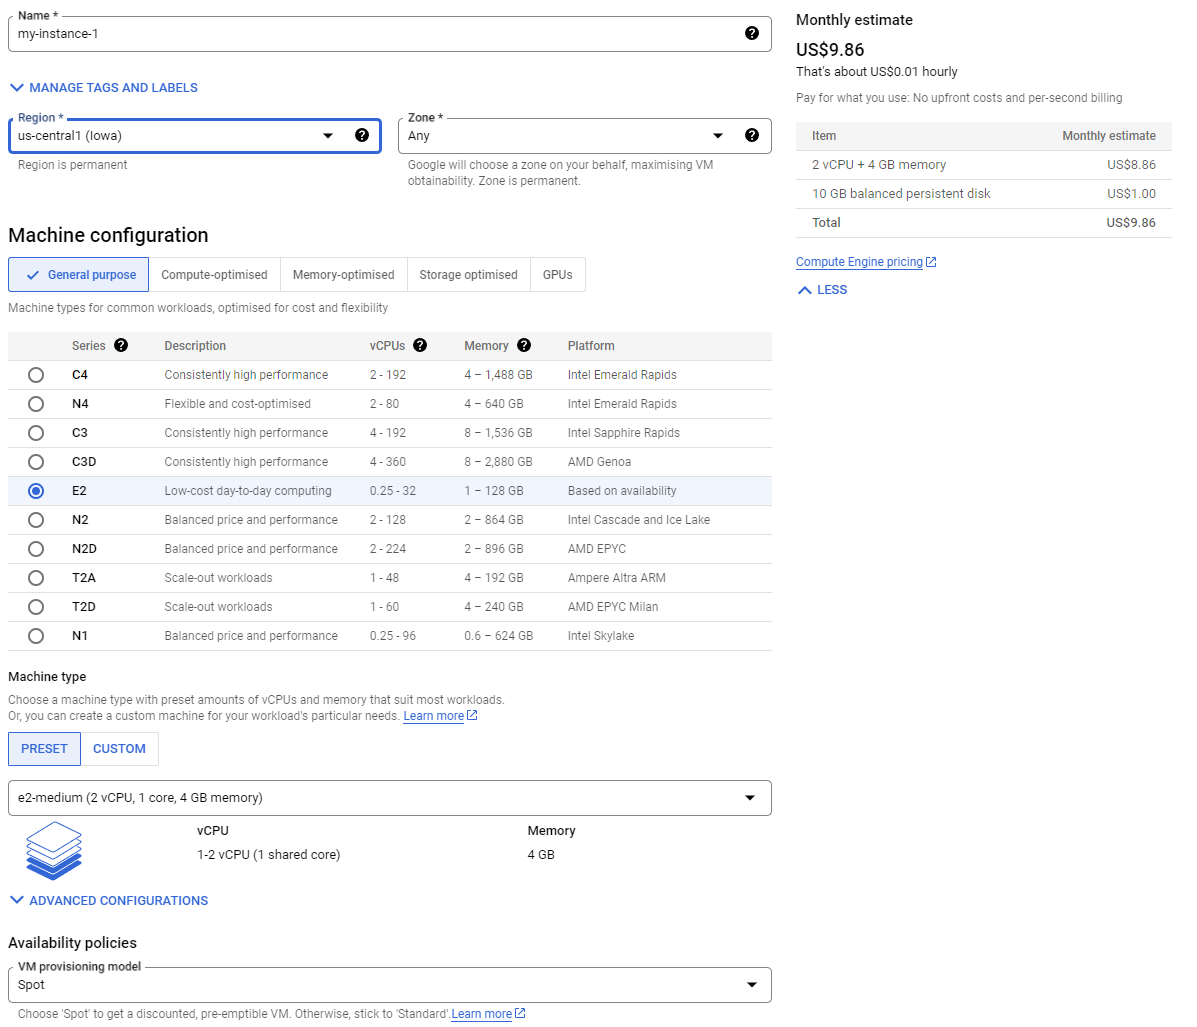
When creating a new instance, each machine configuration, type, and location will come at different cost and platform.
For the provisioning model, there are two - Standard and Spot. Standard means that the VM will not randomly shut down and will act like another computer or server. However for spot, it means that the VM created can be stopped anytime when there is a demand for resources. Due to this, there will be lesser reliability for uptime but comes at a discount.
For testing purposes, we can use the "Spot" option. However, if we are running workloads such as hosting a website, we can select the "Standard" option.
This example will use the E2 series machine configuration with the type being "e2-medium" using the "Spot" provisioning model.
As for the name and region, name it however you like and choose a region closest to you for lowest latency.
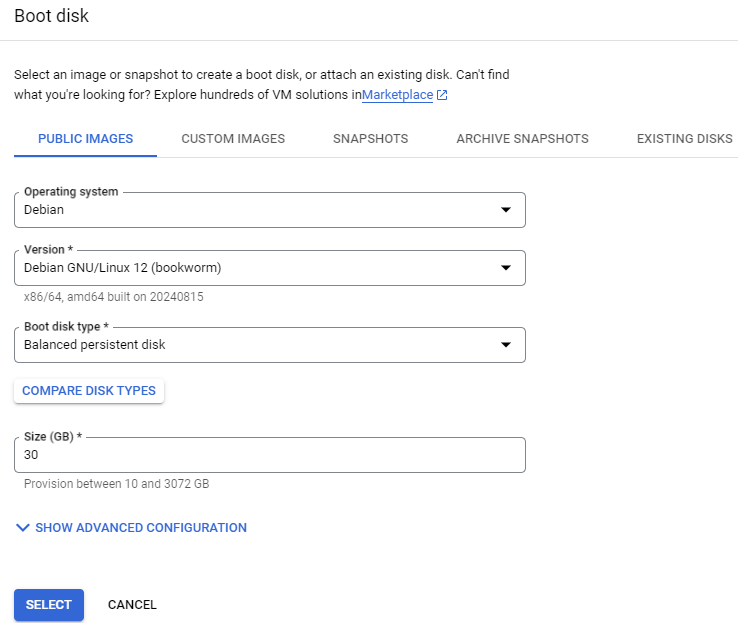
For the boot disk, we can give it 30GB of storage using Debian as our OS.
Once done, click the "Create" button. This can be used for examples on hosting services in later sections.
Running with Your Own Hardware
Depending on the hardware, or chosen virtualisation method (type 1 or type 2), there are many different configurations.
The following is a good start for type 1 virtualisation:
- 4 Cores CPU - Intel i3 or i5 or AMD Ryzen 3 or 5
- 16GB RAM
- 256GB Storage
Note: Intel VT-x/EPT or AMD-V/RVI setting has to be enabled in the BIOS for type 1 virtualisation. Having IOMMU enabled is also a benefit but not a requirement for basic virtualisation.
The above is just a recommendation on how much RAM and the type of CPU for a stable experience.
Once we have a machine to use, we can install a operating system such as Proxmox for Type 1 virtualisation or VMware Workstation Pro for type 2 virtualisation.
Proxmox download: https://www.proxmox.com/en/
To install it, follow the instructions from the following: https://pve.proxmox.com/wiki/Installation
Once installed, navigate to it on http://<IP>:8006 and login using the credentials set during the installation.
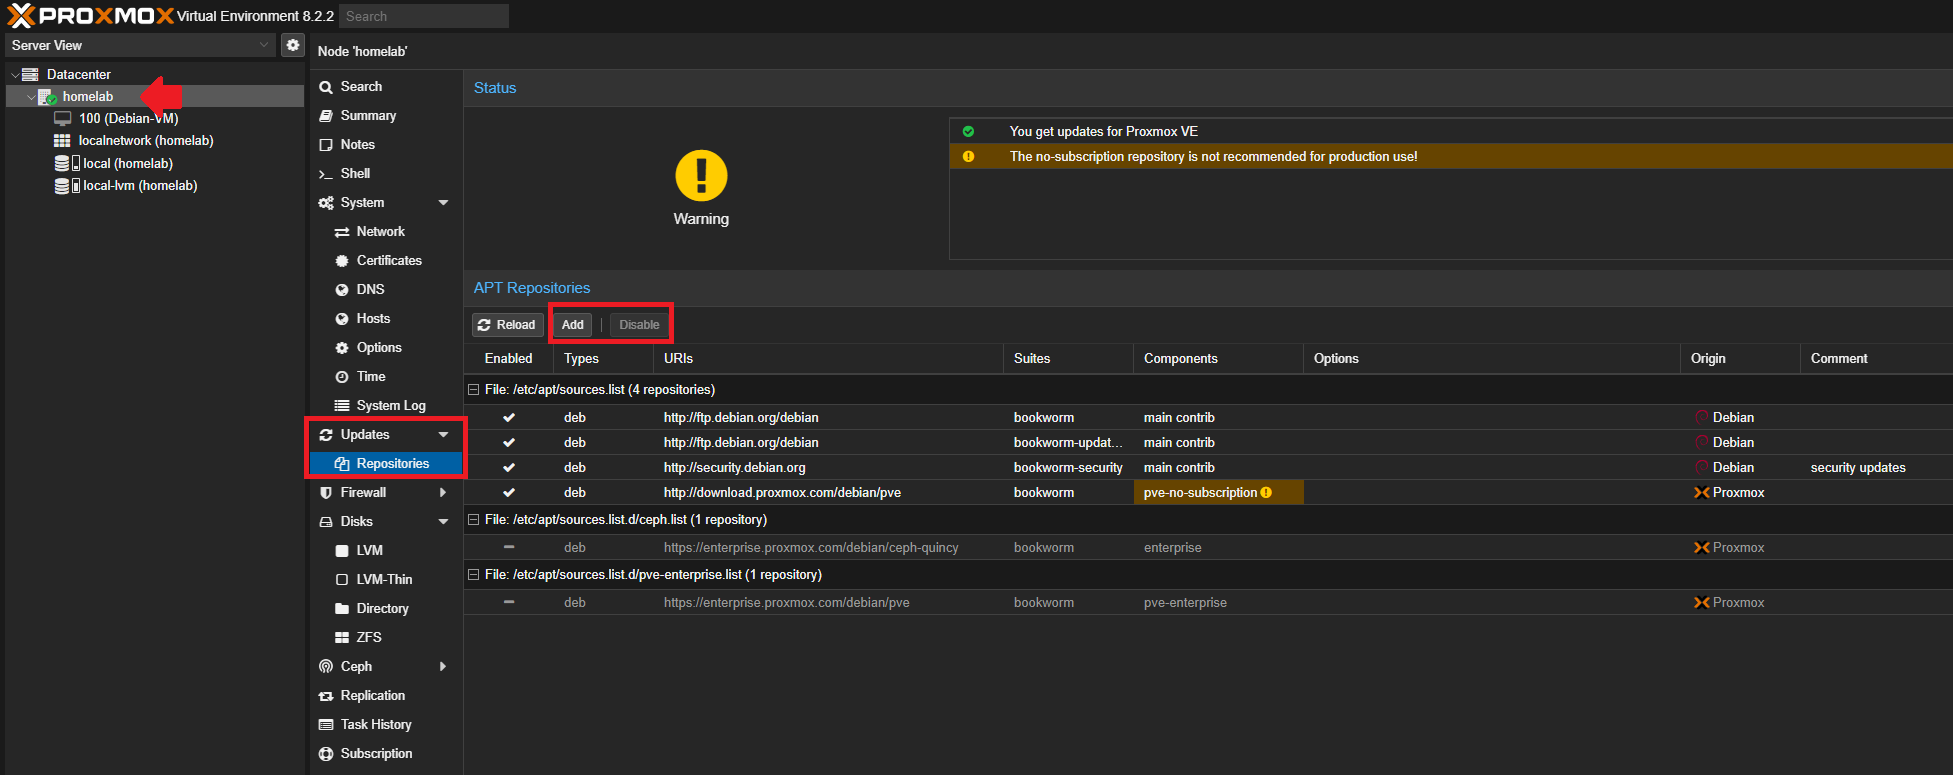
Before creating a VM, navigate to Updates > Repositories and disable the enterprise repository and add the "No-Subscription" repository.
Creating a VM on Proxmox
Once logged in, we will first need to upload a .iso for our operating system to create virtual machines. This example will be using Debian 12. To download Debian 12, use the following link:
https://www.debian.org/
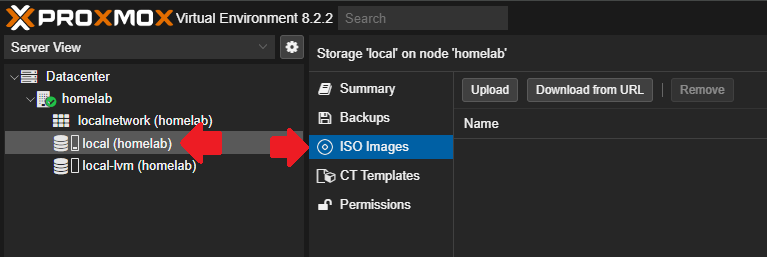
Once downloaded, we can upload it by navigating to the local storage pool > ISO Images.
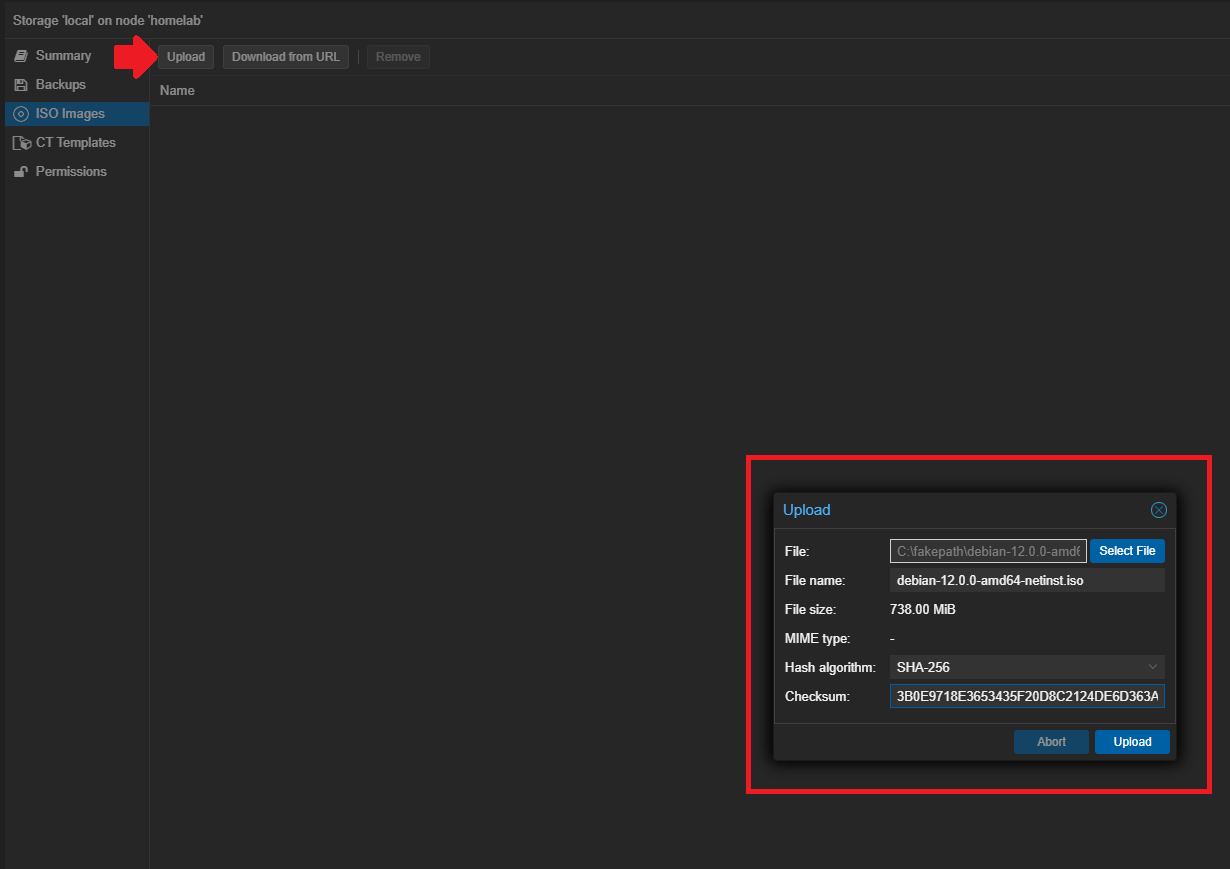
Once there, click on the "Upload" button and select the ISO file to upload. Optionally, you can include a hash of the file to ensure that it is properly copied.
Once uploaded, we can create a VM by clicking the "Create VM" button at the top right. On the "General" section, give the VM any ID and a name.
When done, click next to the "OS" section. On this section, select the Debian 12 image or desired ISO image previously uploaded.
On the "System" section, we can set the machine to q35 with the Qemu Agent enabled. The agent will allow Proxmox to talk to the VM. We can set the BIOS to UEFI as well.

For the "Disk" section, we can leave the storage settings as default.
For the "CPU" and "Memory" section, choose the number of cores and amount of memory you want the VM to use respectively. We can leave the network settings as the default in the "Network" section.
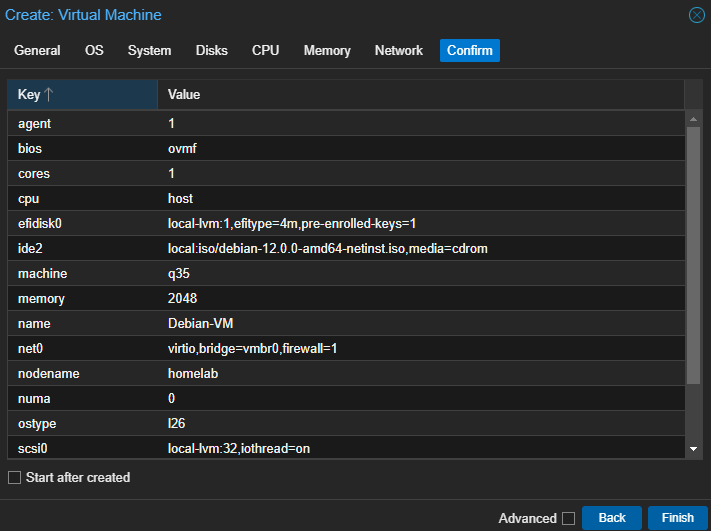
At the end, we can review the settings and click "Finish" to create the VM.
Once done, we can power on the VM by selecting the VM and clicking "Start" on the top right. We will need to install Debian. The process is the same as installing any other OS on actual hardware.
The "Console" tab will be where we can interact with the VM as though there is a monitor plugged into it.
Once Debian is installed, we can shutdown the VM and use it for future examples in later sections.
Containerisation
To be able to run containers, we will need a container engine. This section and future examples will use Docker.
To install the Docker Engine on our created VM, we can follow the steps at the following link.
https://docs.docker.com/engine/install/
On Debian, we will need to run the following commands.
sudo apt-get update
sudo apt-get install ca-certificates curl
sudo install -m 0755 -d /etc/apt/keyrings
sudo curl -fsSL https://download.docker.com/linux/debian/gpg -o /etc/apt/keyrings/docker.asc
sudo chmod a+r /etc/apt/keyrings/docker.asc

echo \
  "deb [arch=$(dpkg --print-architecture) signed-by=/etc/apt/keyrings/docker.asc] https://download.docker.com/linux/debian \
  $(. /etc/os-release && echo "$VERSION_CODENAME") stable" | \
  sudo tee /etc/apt/sources.list.d/docker.list > /dev/null

sudo apt-get update
sudo apt-get install docker-ce docker-ce-cli containerd.io docker-buildx-plugin docker-compose-plugin
To test if the installation is successful, we can run the following command to create a test container.
sudo docker run hello-world
Once tested, we can remove the container and the image by using the following commands.
sudo docker rm <container name>
sudo docker image prune
To see all containers running, use the sudo docker ps -a command.
Section Summary
This section covers setting up a virtual machine both in the cloud and locally and installing Docker on the VM for containerisation.
The next section will be setting up some basic services using Docker.